Where To Go
To add a 30-second header video clip that plays in the background on your homepage, you will log in to your site and click on the site tile. From here go to Manage Web Site > Appearance > Header Footer
What To Do
- Click Add Header Video
Note: Header Videos have a maximum length of 30 seconds and a maximum file size of 100 MB. Longer videos are automatically trimmed to 30 seconds and audio is always removed.
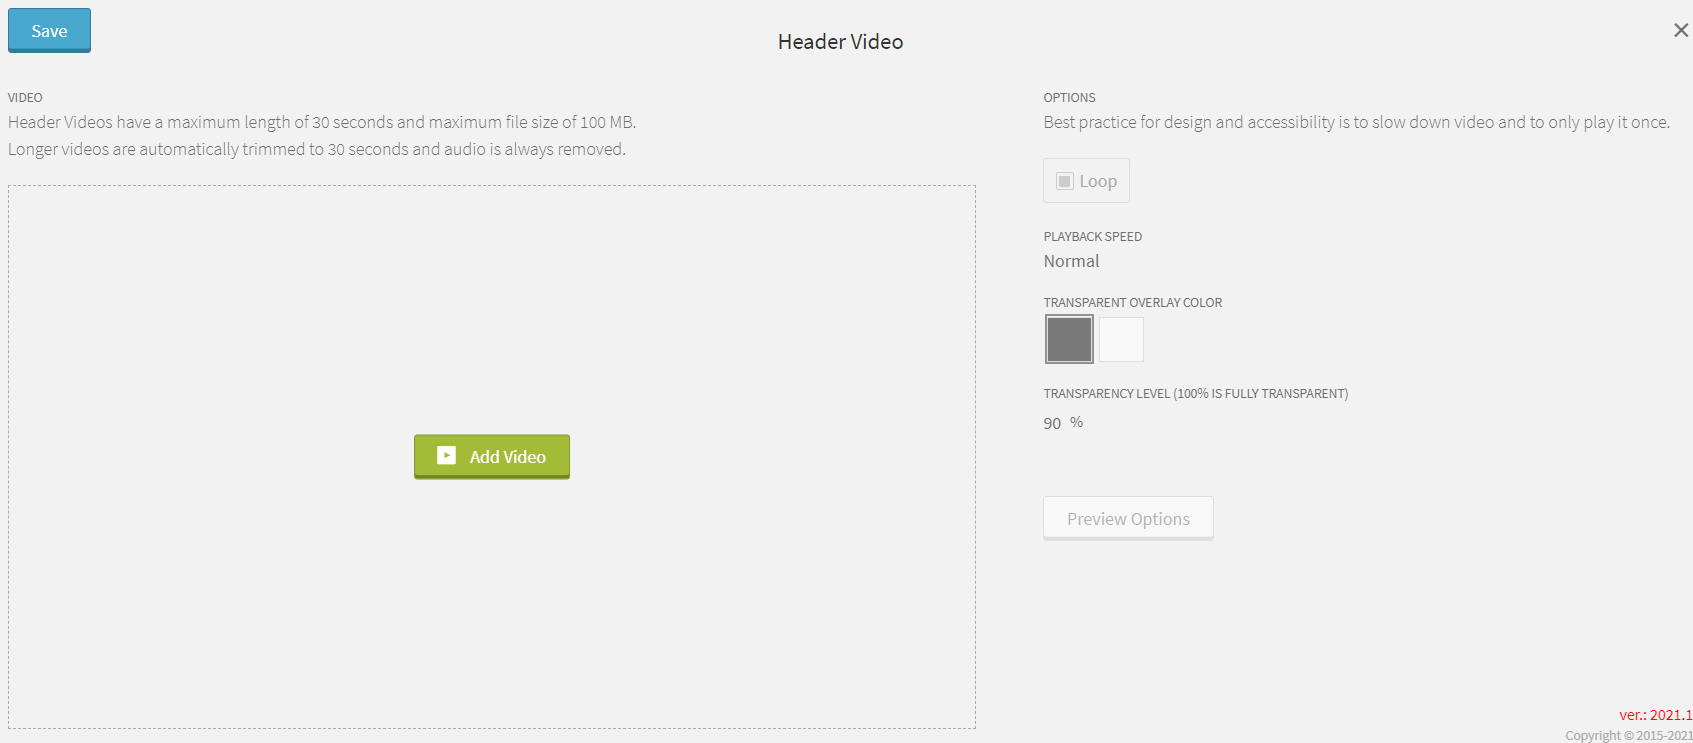
- Click Add Video to browse and select your video from School/District Resources, My Files, My Device, or Google Drive. For best design and accessibility practices, we recommend selecting videos that don't contain a lot of fast motion as this can be disorienting for visitors.
Note: Please do not navigate away from the screen until your video has finished processing.
- Set your video options:
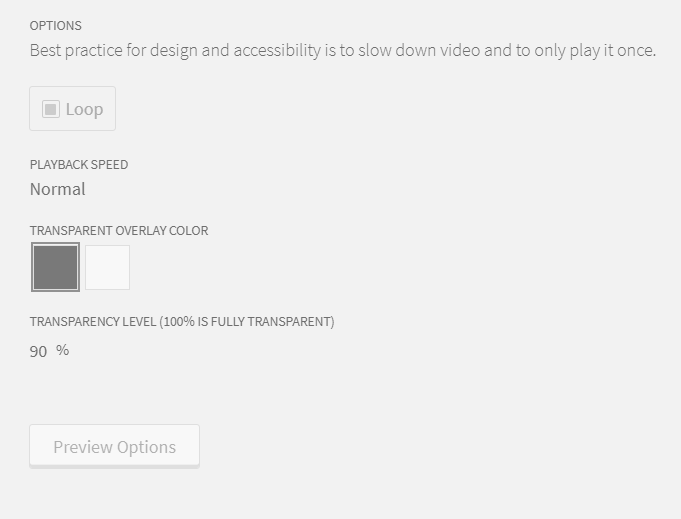
- Loop: Will play your 30-second clip in a loop.
- Playback Speed: Slows down or speeds up the playback. Choose between 0.25x, 0.50x, Normal, 2x.
- Transparent Overlay Color: Choose to darken or lighten the video with a black or white overlay. *This setting is only effective in the Brochure, Prestige, and Reprise Themes.
- Transparency Level: Choose a transparency setting to control how much the video fades or stands out. *This setting is only effective in the Brochure, Prestige, and Reprise Themes.
Note: We recommend slowing down the video and only play it once for better design and accessibility.
4. Choose a Poster. A poster is a frame from the video or a custom image you can upload. Posters display after the video has finished playing unless it is in loop mode. Also, users on slower connections may see the video poster before the video beings to play. 
5. Preview the video by clicking on Preview Options.
6. Click Save.
7. Click Set Active next to Header Video.
8. Click Preview or Update when done.